Real time embedded FreeRTOS RSS feed 
Homepage FreeRTOS+ Products FreeRTOS Labs Support Forum Contact / Enquiries

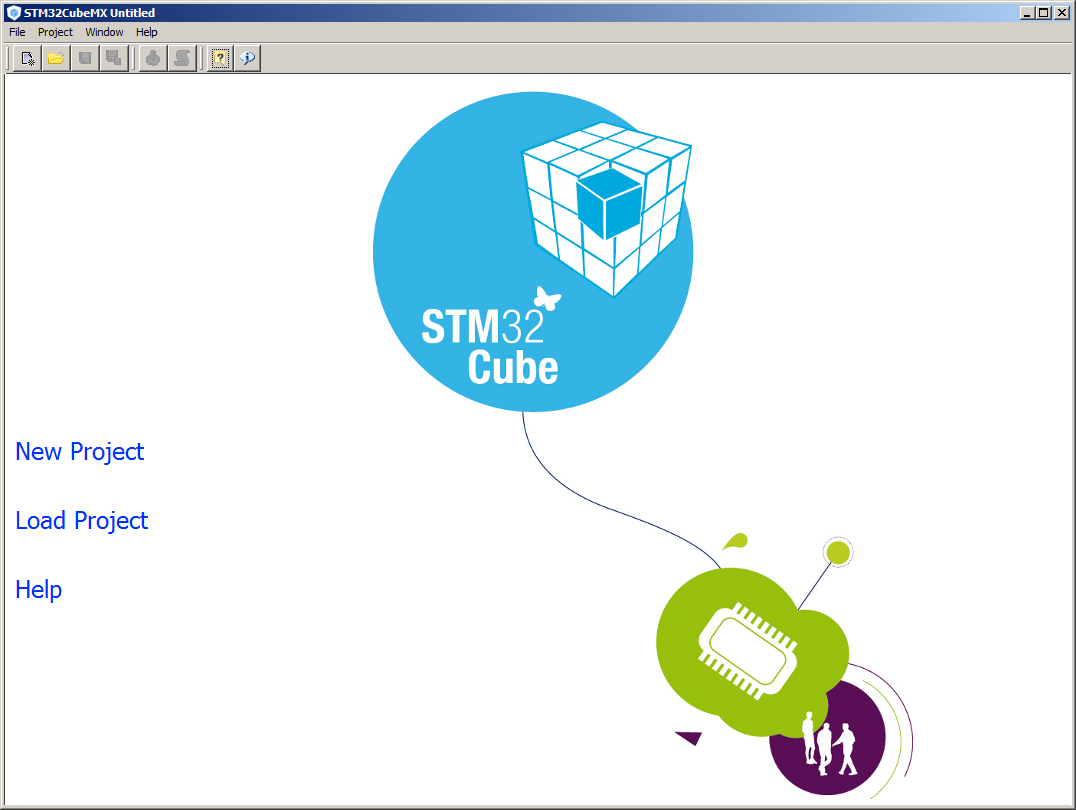
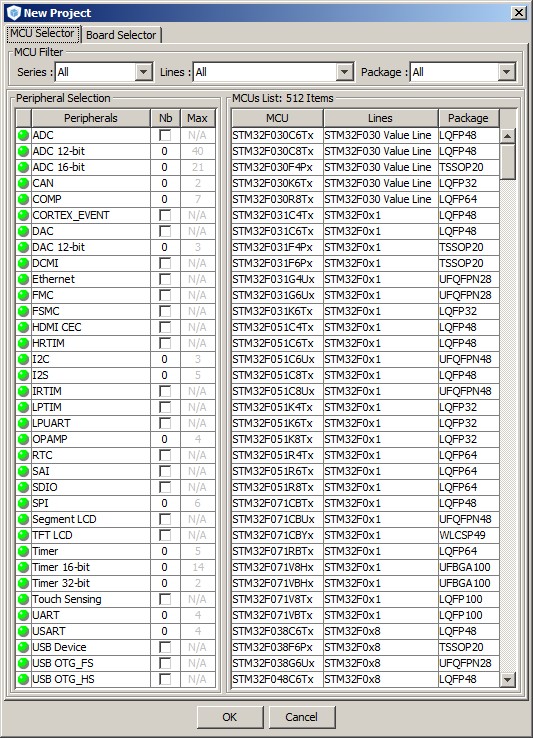
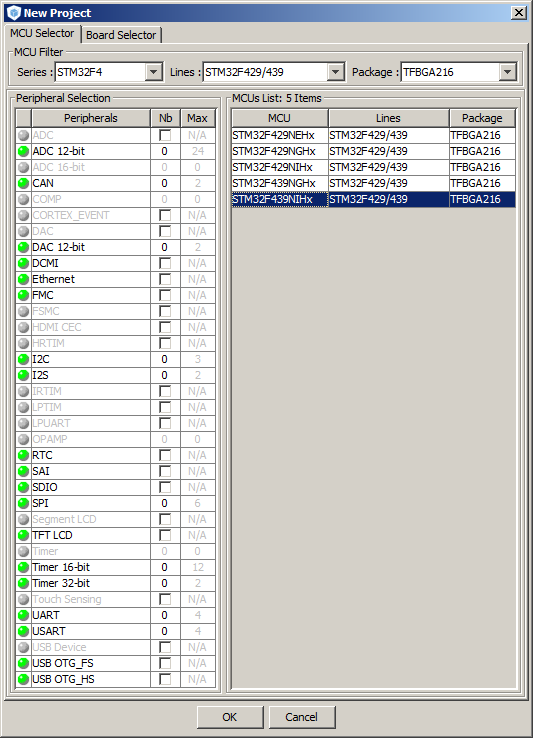
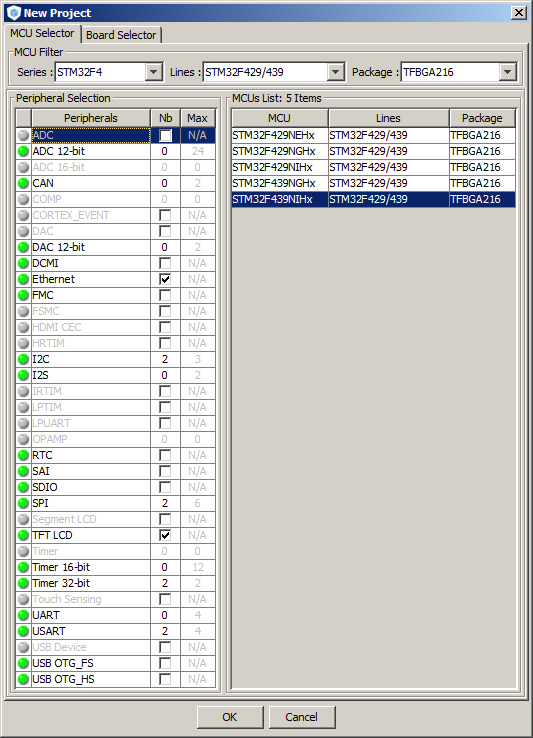
Step 3: Creating a New STM32CubeMX Project

The STM32CubeMX start screen includes a link (and menu items) to start a new project. The new project dialogue is very intuitive. On one tab it allows you to select an STM32 part number and displays the memory and features of the selected part. On another tab it allows you to select a standard evaluation, discovery or STM32 Nucleo board.

Workflow steps:
  1. Click the "New Project" link. A "New Project" dialogue box will appear.

  2. Select an MCU part number. The dialogue will automatically grey out the peripherals that are not available for the selected part.

    In writing this example an STM32F439 part was selected in a BGA package.

  3. For each peripheral of interest, either check the box or enter the number of peripherals of that type to be used. It is not possible to check the boxes of peripherals that do not exist on the selected MCU part, or enter a number that exceeds the number of a peripheral actually available on the selected MCU part.

  4. Once both the MCU part number and the peripherals of interest have been selected, click "Ok" to close the new project dialogue and see the main design window.
Click images to enlarge

Start screen

New project dialogue

With part selected

Selecting peripherals


The main design window has four tabs: Pinout, Clock Configuration, Configuration, Power Consumption Calculator.


>> On to step four
<< Back to the STM32CubeMX practical walk-through index


[ Back to the top ]    [ About FreeRTOS ]    [ Privacy ]    [ FreeRTOS+ Sitemap ]    [ Main FreeRTOS Sitemap ]    [ ]


Copyright (C) Amazon Web Services, Inc. or its affiliates. All rights reserved.